Tactics
Curling strategy can get complex at high levels, but a few basic tactics will get you started.
Your goal in each end depends on whether you have the hammer, the score, and how many ends are left. Rules of thumb:
With the hammer,
try to blank or or more
Without the hammer,
try to or the other team to take 1
Offence vs. Defence:
To score, you need to get your rocks into the house and protect them. But more rocks in play gives the other team chances too, so playing lots of and is called .
Removing rocks from play is : it lowers the chance of either team scoring several points.
Placing Rocks
Accurate placement is crucial, and not just at the centre of the house. You also need to place , other rocks, and more.
Draw:
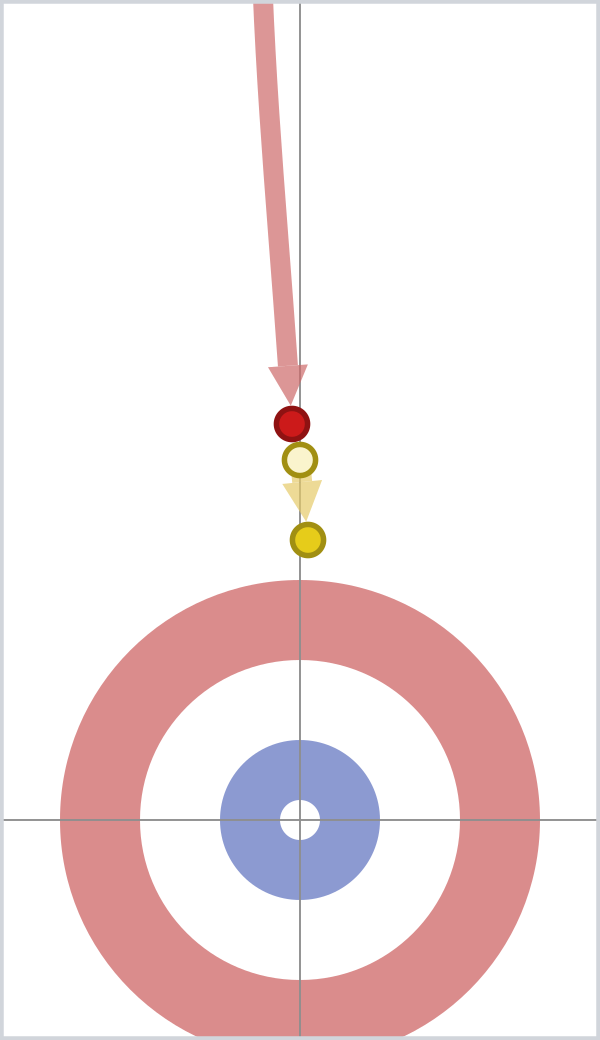
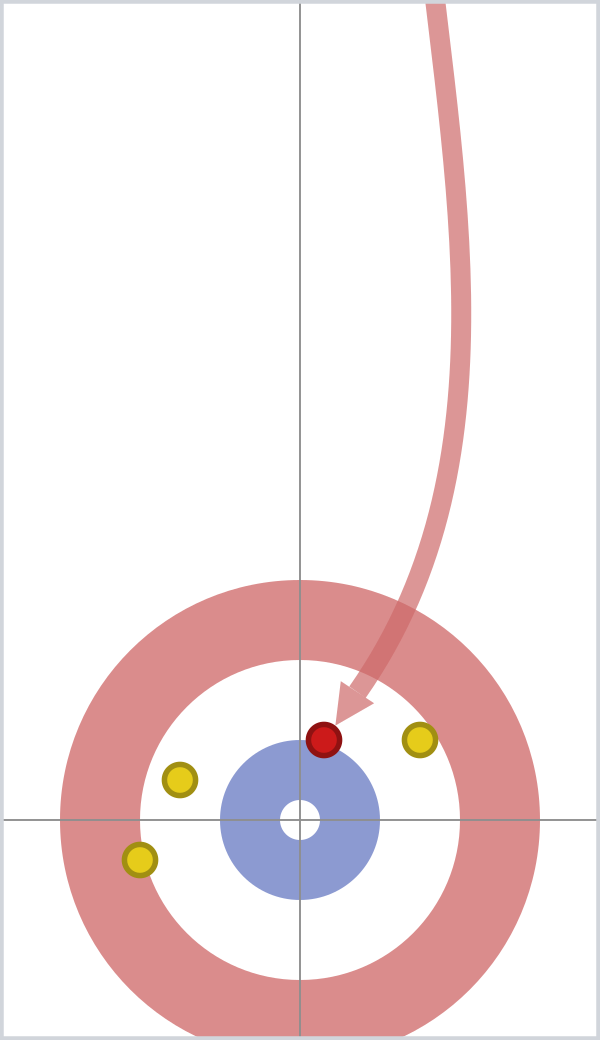
The most obvious shot is a to the house. Here the red team to the centre to beat all three yellow rocks. If it's the last rock of the end, that accurate draw stops yellow from scoring.
Guard:
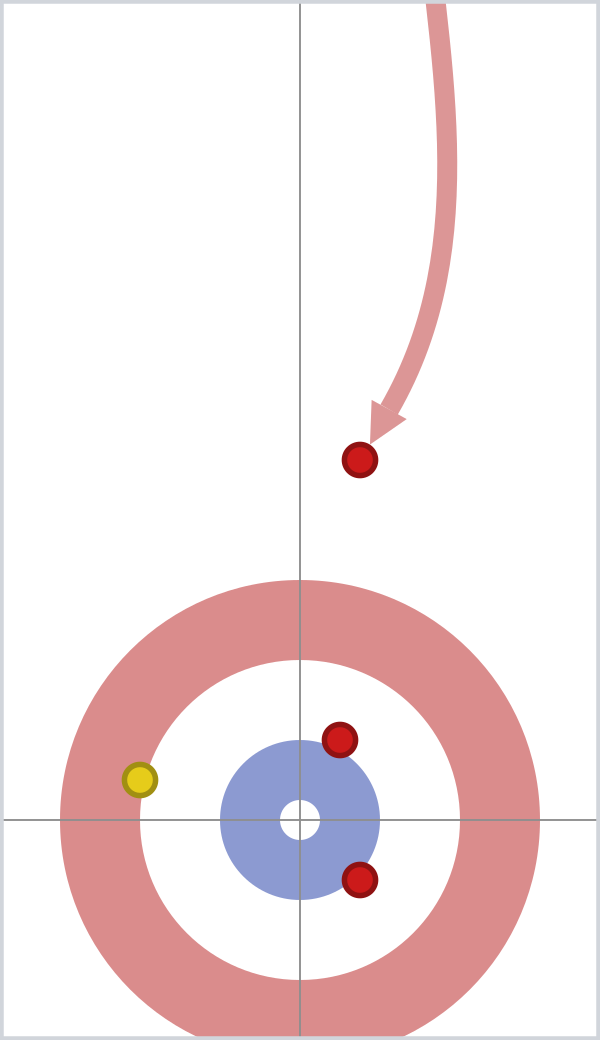
Red has 2 rocks in the house that could be removed, so they throw a to protect them. If the guard is off target, yellow can still play a .
Raise:
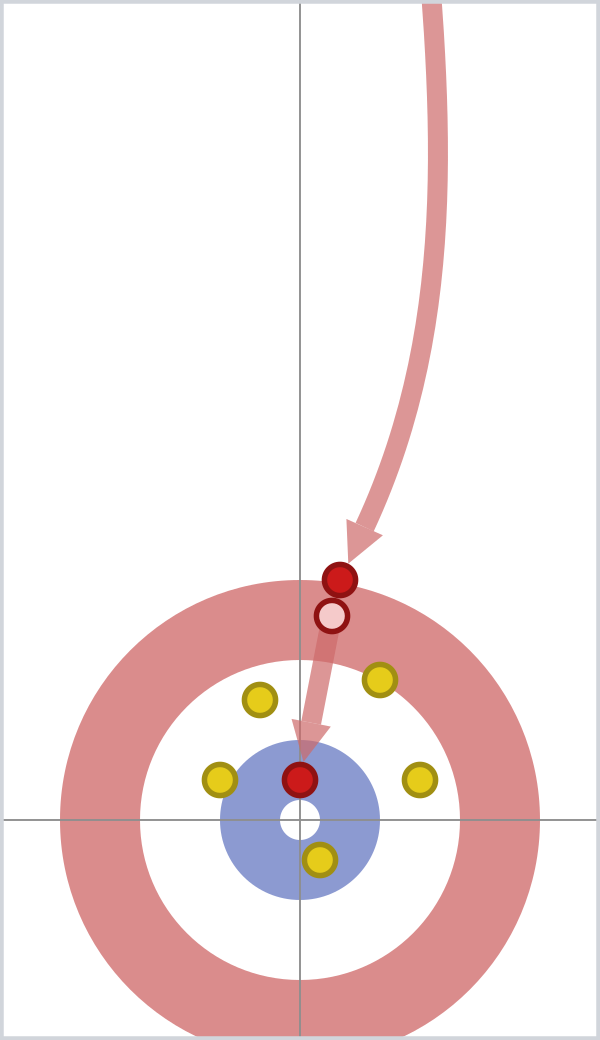
Sometimes you can't place a rock directly. Here red can't draw to beat all the yellow rocks, so they their rock at the top of the house instead. Raises are very difficult.
Removing Rocks
Removing a rock from play is called a . The simplest is to throw straight at it. There are many variations for different purposes.
In a hit and stick, the removes another rock and stays in place.
In a hit and roll, the shooter rolls to the side after the hit, ideally into a better position.
In a peel, both the shooter and the target rock are removed from play.
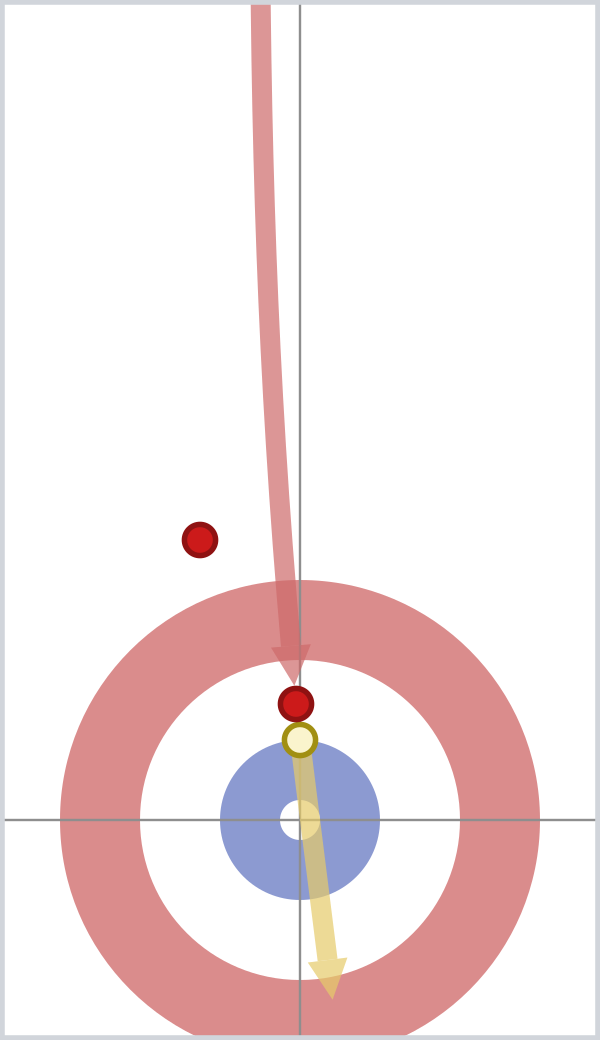
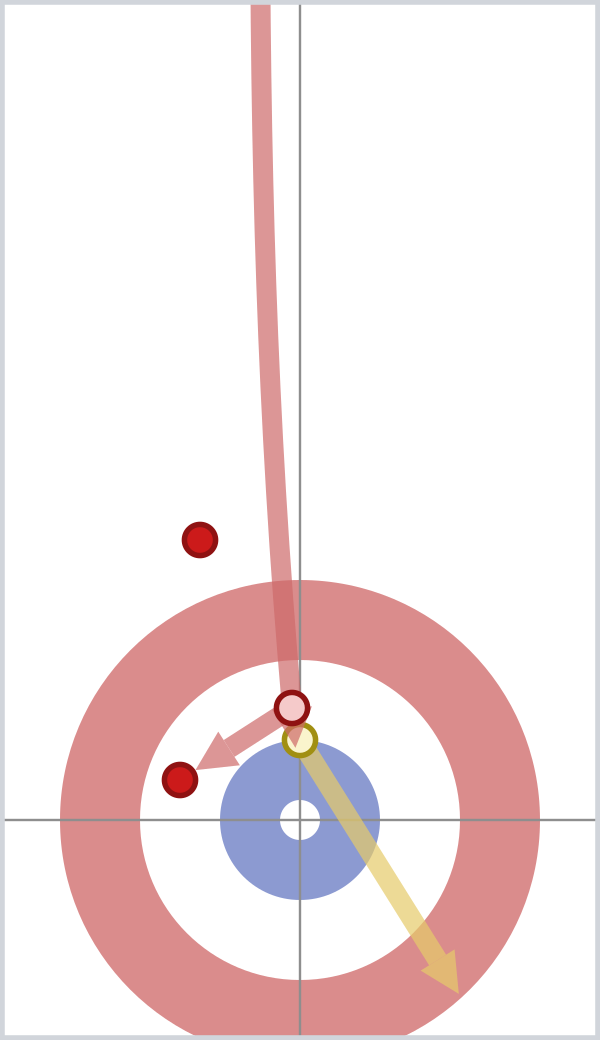
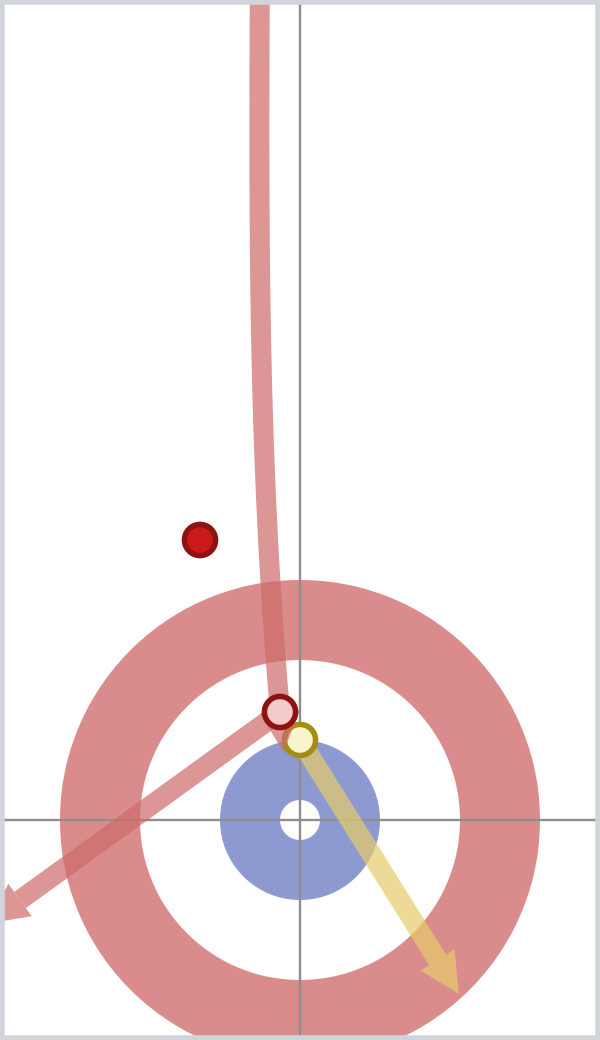
Raise Take-Out:
When other rocks block a direct take-out, you can hit one of your own rocks in front and raise it onto the target.
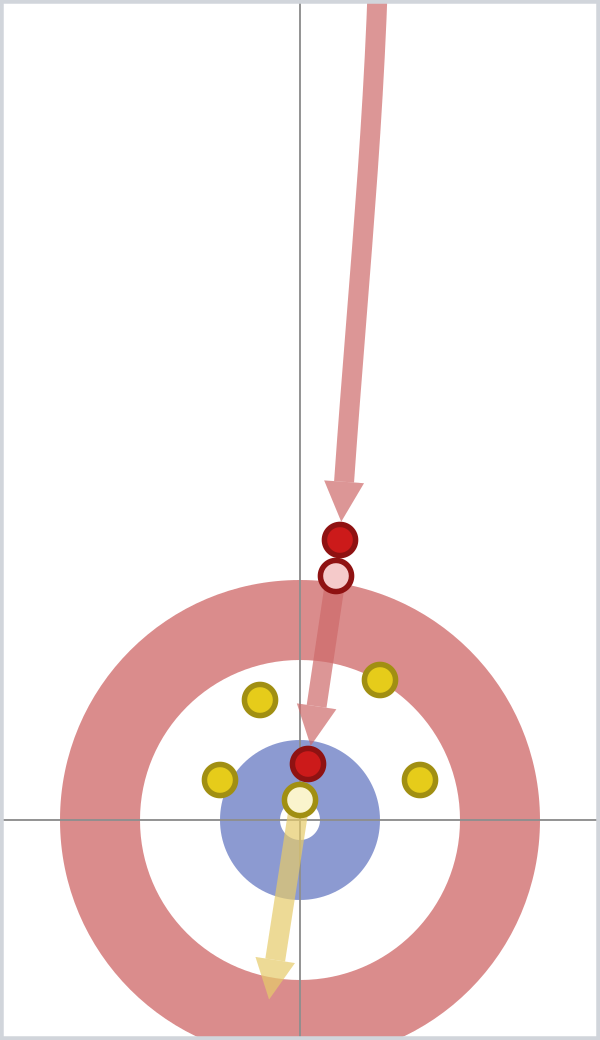
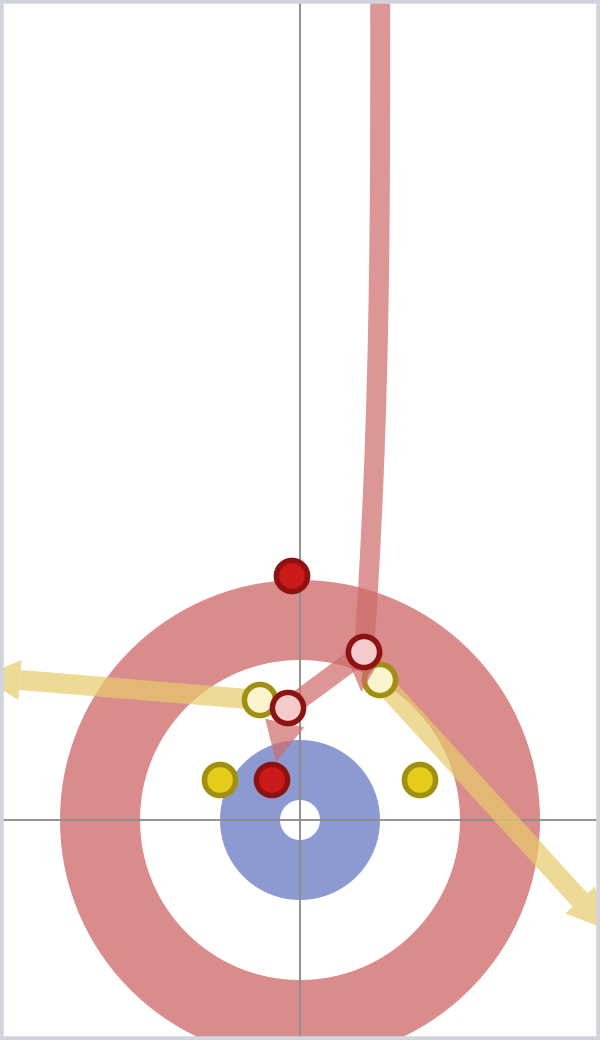
Double Take-Out:
Hitting at the right angles, you can often remove two rocks in one shot. Here the red team hits the yellow rock on the right, then rolls left to remove the second one, ending in a great spot behind the red guard. Double take-outs are difficult but can make a big difference.
Protecting Rocks
Getting rocks into the house isn't enough. You also need to protect them, with , rocks, and .
Guards:
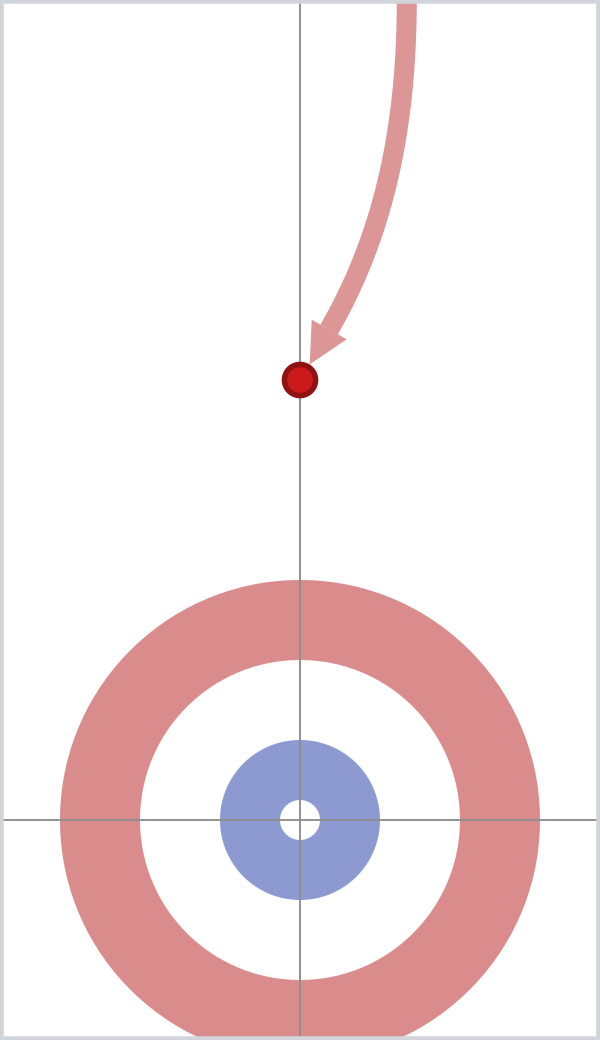
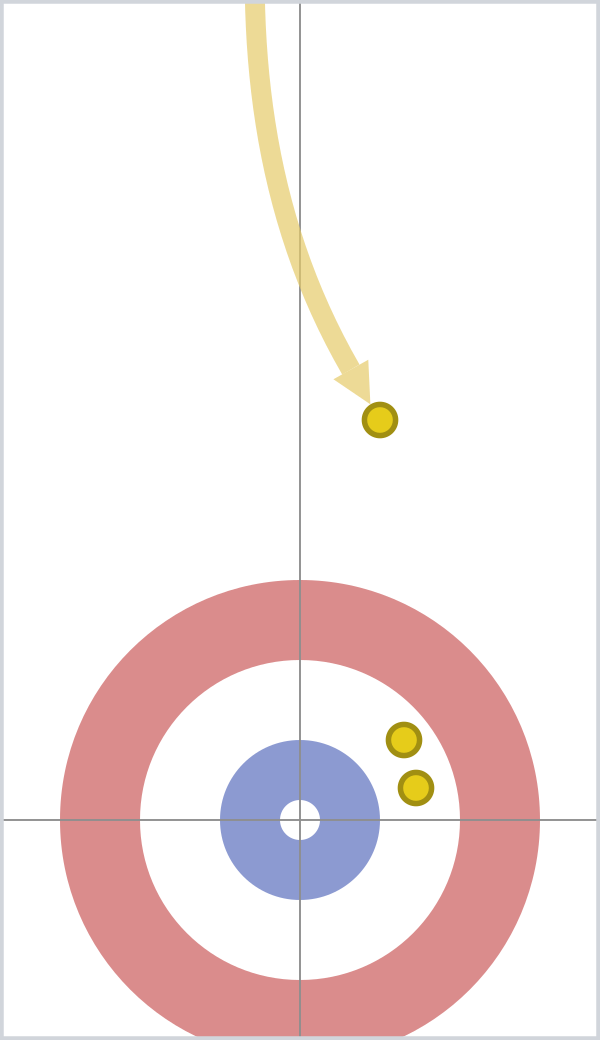
A guard sits in front of other rocks to protect them. It's often thrown early so you can draw around it later, using the Free Guard Zone rule. Other times it protects rocks already in play.
Playing a guard early to draw around later
Using a guard to protect rocks already in the house
Overlapping Guards:
Overlapping guards are very effective. The opposition can raise a single guard, or two that don't overlap, into the house. When two guards overlap, the back one stops the front one being raised into the house, and the back one can only be raised at an angle.
Backing Rocks:
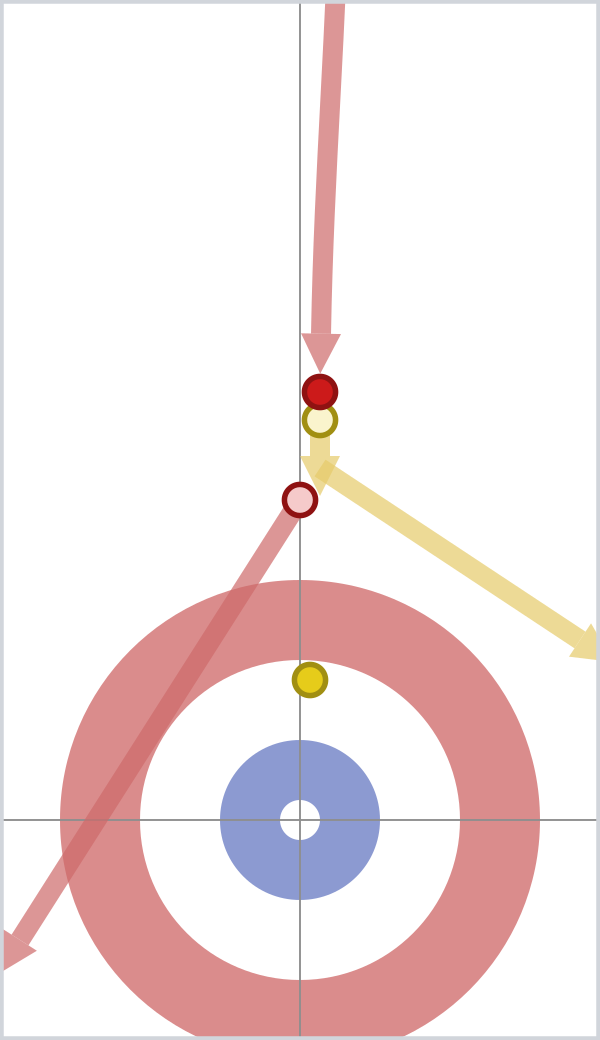
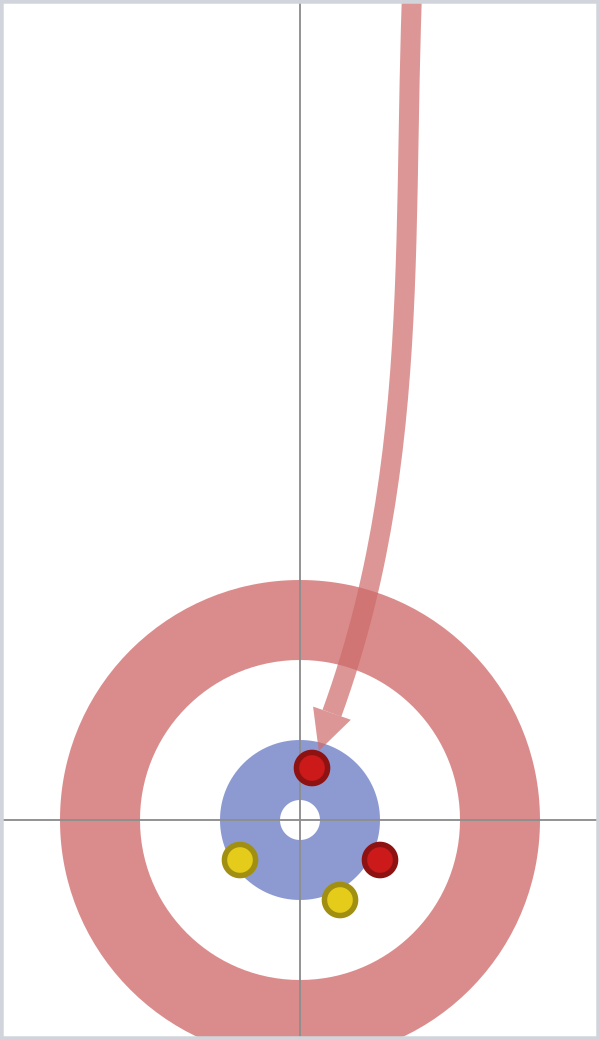
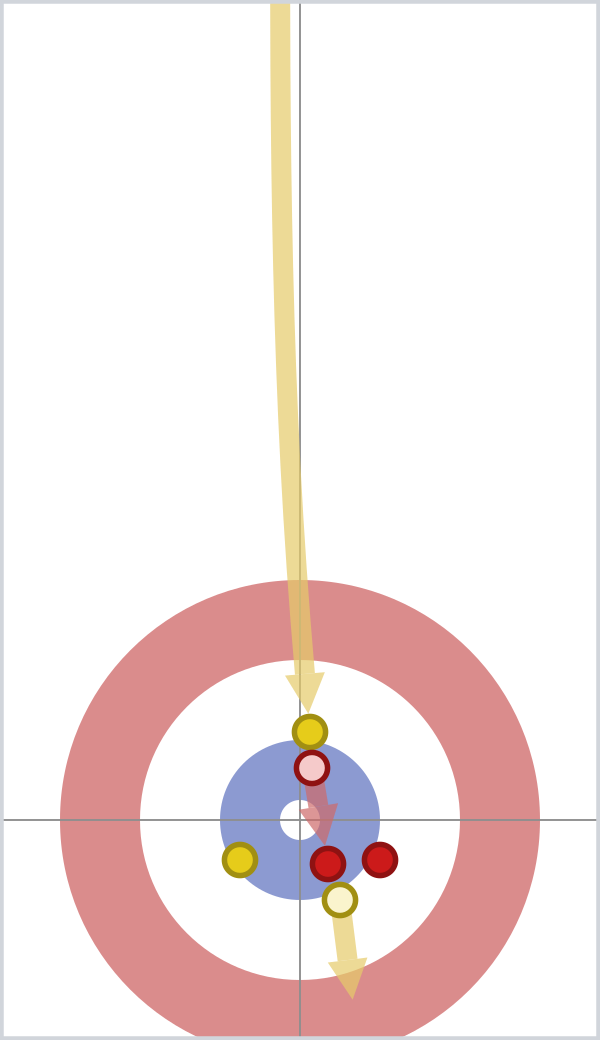
A rock placed in front of rocks already in play is backed by them. It's harder to remove, because it may hit a backing rock instead of going out of play.
In this example, red draws to the top of the , in front of other rocks. When yellow tries to take it out, the red rock hits a backing rock and stays in play.
Freezes:
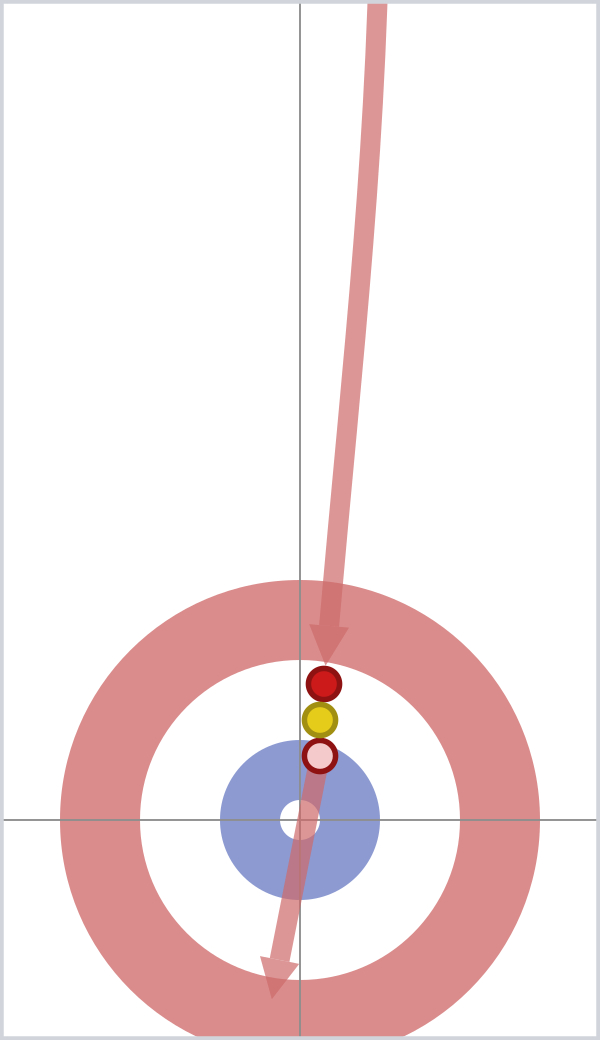
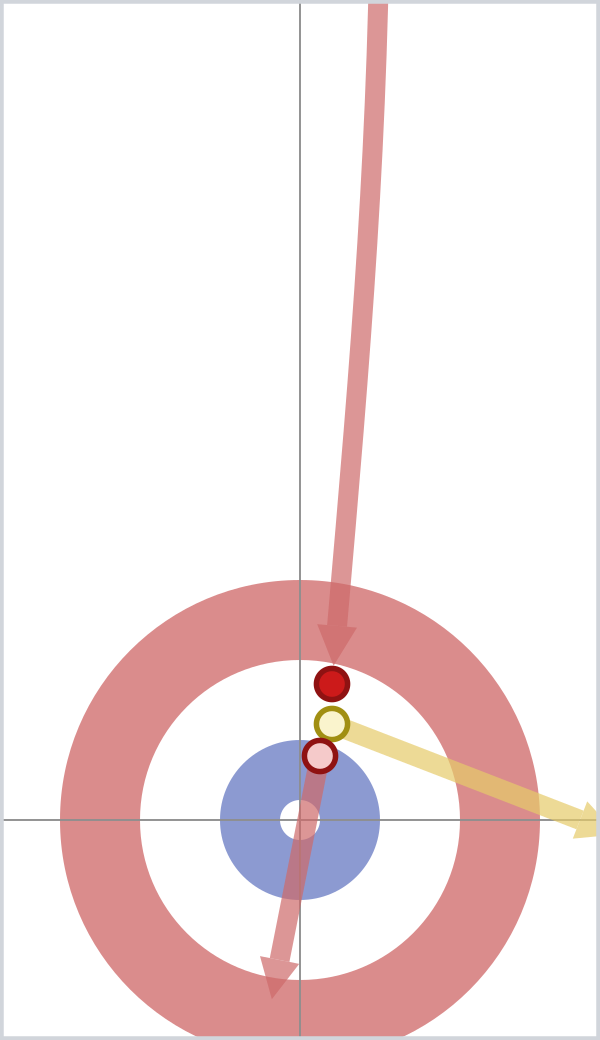
A freeze is backing where the new rock stops right against the rock behind it. Lined up straight, the front rock can't be removed at all.
Freezes protect well, but they are very difficult, and a miss can make things worse.
Free Guard Zone
Top teams rarely miss take-outs. Without a rule to protect guards, a team could hit every guard and draw for a point to finish the game. That isn't much fun.
The Free Guard Zone (FGZ) is the area between the hog line and the tee line, not counting the house. The FGZ rule says an opponent's guards there can't be removed from play until after the 5th shot of an end. So the hammer team can throw 2 guards, and the other team 3, before either can remove the other's guards. This has a huge impact on strategy, letting teams play aggressively with lots of guards and draws.
If an opponent's guard is removed from play, the thrown rock is removed and the other rocks are put back. Rocks in the FGZ can still be moved around - they just can't be taken out.
These examples are all before the 6th shot, so the FGZ rule applies.
FGZ Violation: The yellow rock is removed from play, so it's put back and the red rock is removed.
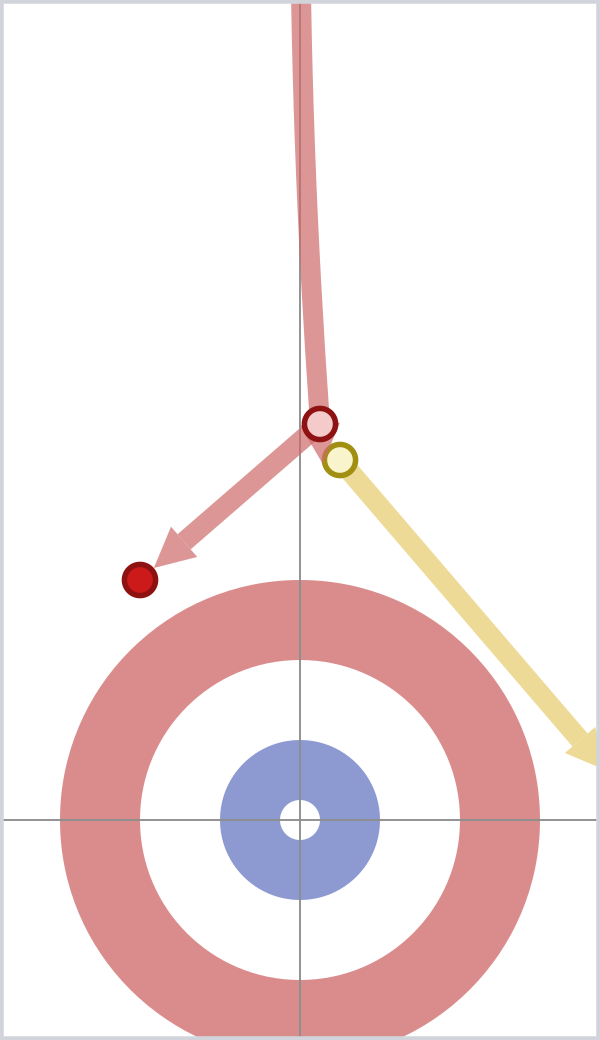
No Violation: The yellow rock moves sideways but stays in play, so the rocks stay where they are.
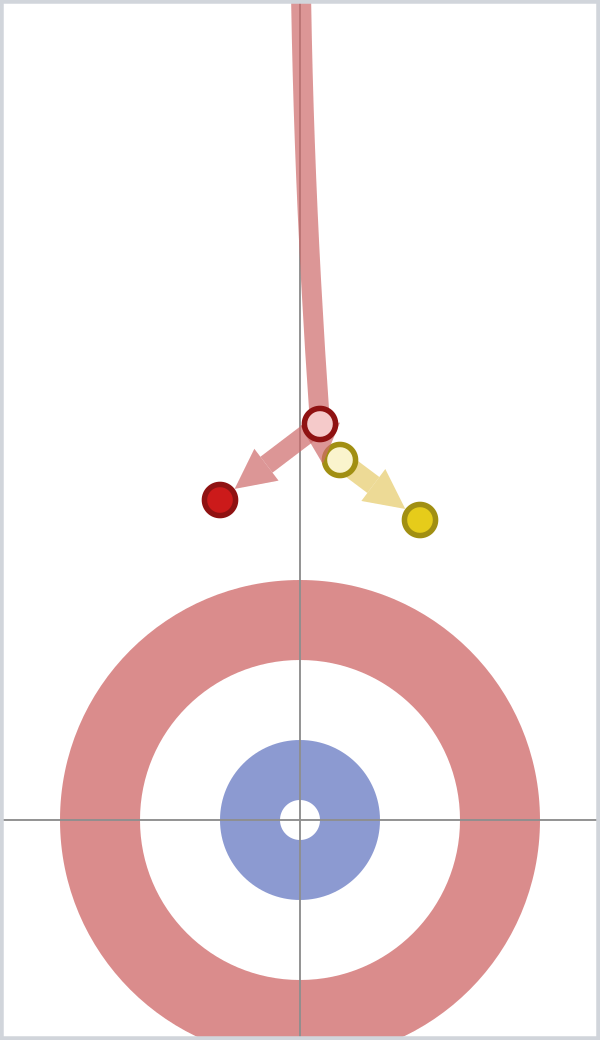
No Violation: The yellow rock is raised out of the FGZ, but it stays in play.
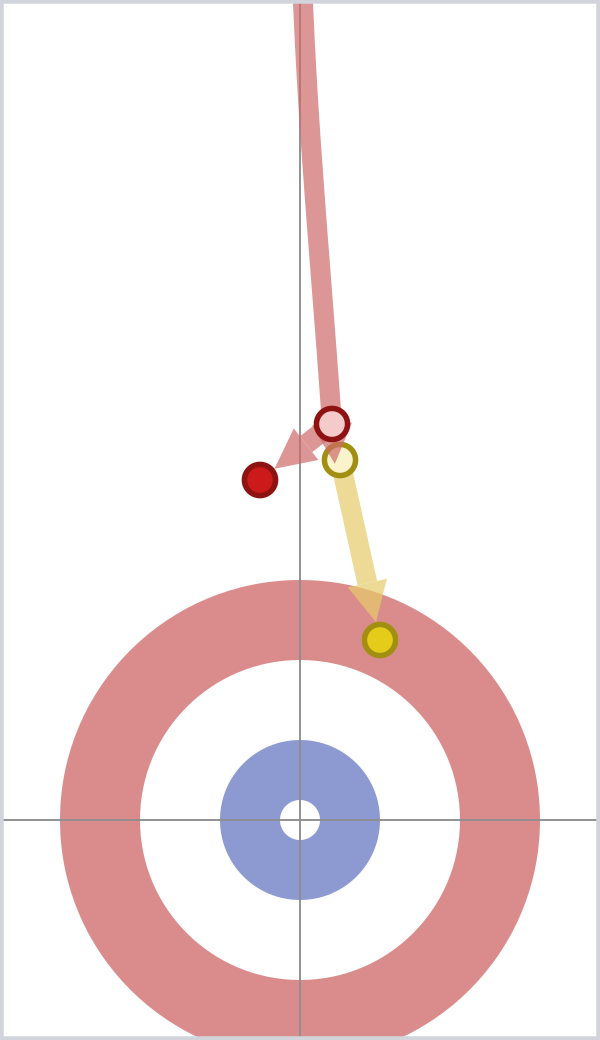
No-Tick Rule:
The no-tick rule also protects FGZ guards that touch the centre line. Until after the 5th shot, they can't be moved off the centre line or into the house. If one is, the non-offending team has the option to leave the rocks where they are or put them back.
The no-tick rule isn't typically used in casual games.
These examples are all before the 6th shot, and the yellow rock touches the centre line, so the no-tick rule applies.
FGZ and No-Tick Violation: The yellow rock is removed from play, so it's put back and the red rock is removed.
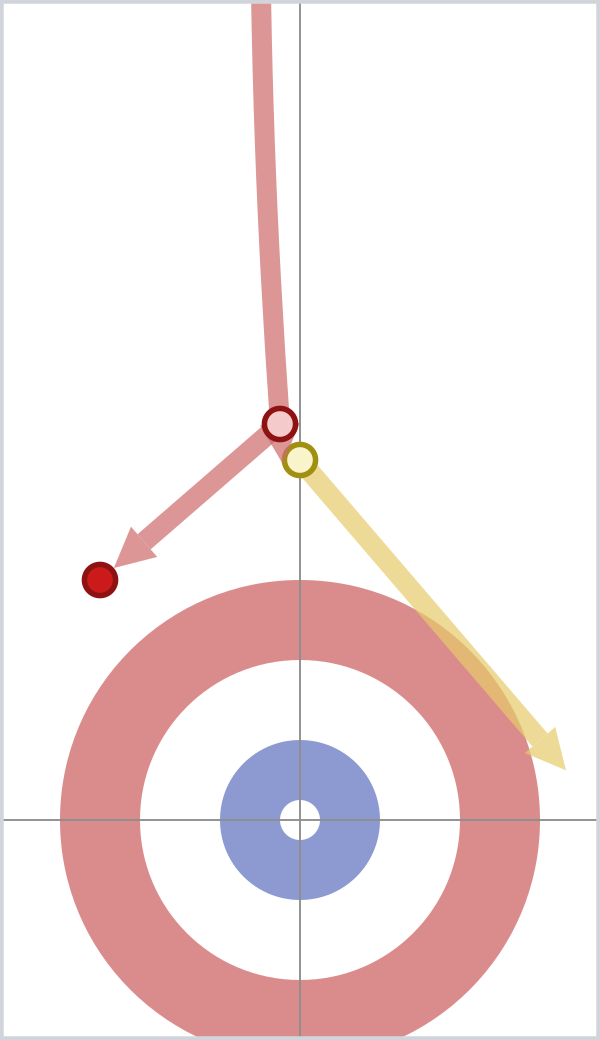
No-Tick Violation: The yellow rock is still in play, but it was moved off the centre line.
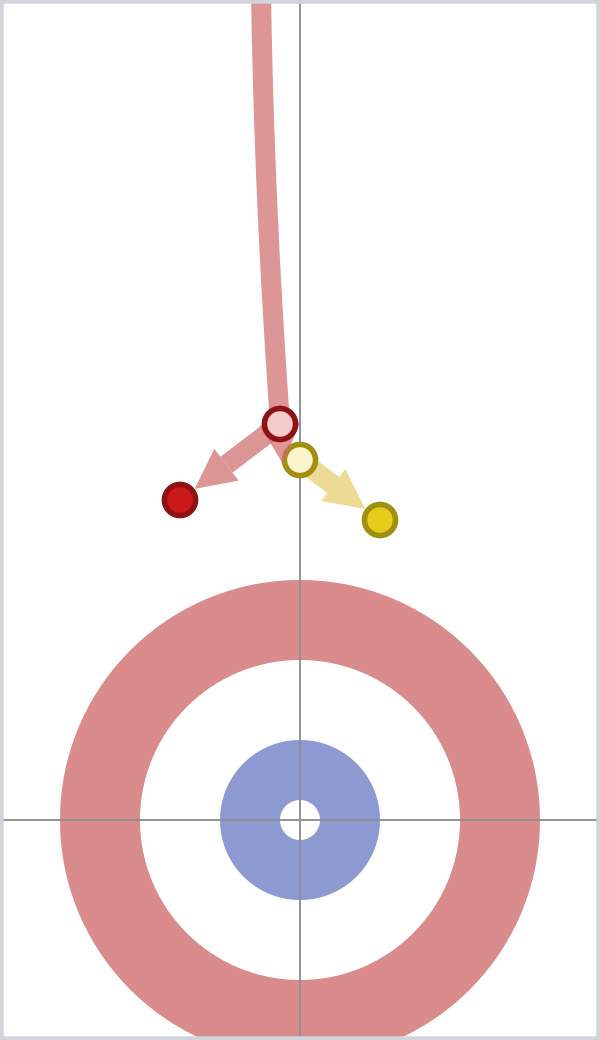
No-Tick Violation: The yellow rock is still on the centre line, but it was raised out of the FGZ.
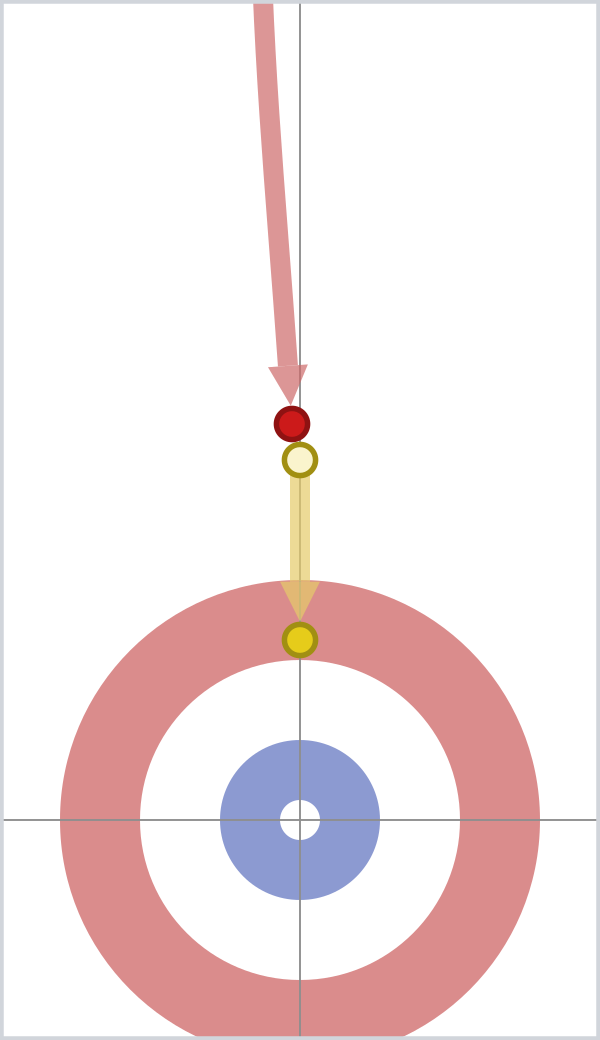
Under the no-tick rule, the guard can only be moved if it still touches the centre line. That's very difficult and rarely useful.
No Violation:
The yellow rock moved but still touches the centre line.